
I use Foreman for provisioning systems in both my lab and at work. For the most part I’ve had success over the years kickstarting CentOS/Enterprise Linux systems from Foreman using both PXE booting and the lightweight iPXE ISO. These include various generations of HP servers, custom-built desktops, and the following virtual machine types: Virtual Box, KVM, Xen, and VMWare. However, I have had a little more difficulty with Microsoft Hyper-V, but I have managed to get it to work on both Generation 1 and 2 VM types. In this post I will share some of my tips for getting this to work. This is not meant to be an in-depth guide. It assumes that you have a working Foreman installation running the latest release.
First of all, PXE booting does in fact work with Hyper-V. You will, however, need to choose the Generation 1 VM type and ensure that the NIC is a “Legacy Network Adapter.” It’s quite probable that a legacy NIC provides worse performance than a standard NIC, similar to how an E1000 NIC is inferior to a VMXNET3 NIC in VMWare. But for lab purposes it’s probably fine.
It’s pretty clear that Microsoft intended the Generation 1 VM to be as “legacy” as possible. I find it amusing that it even emulates COM ports and a diskette drive. In any case, this is the only configuration from which I’ve been able to PXE boot a system from Foreman. For all other scenarios, I had to use the full boot ISO. The lightweight “host” ISO has not worked in my experience with Hyper-V (but works fine with other virtualization implementations of course).
Full disclaimer: I’ve only tested this with the current version of Foreman (as of this writing, 2.3). I don’t know if you can kickstart Hyper-V systems off the earlier versions of Foreman, though EFI boot disk functionality was added in 2.1 (EFI is required for a Generation 2 VM). When my organization was on Foreman 1.18, the only method that seemed to work for my Hyper-V administrator was to use a custom ISO I had generated from the Enterprise Linux 7 boot disk. However, with version 2.3 I can build both generation 1 and 2 VMs using the full boot disk.
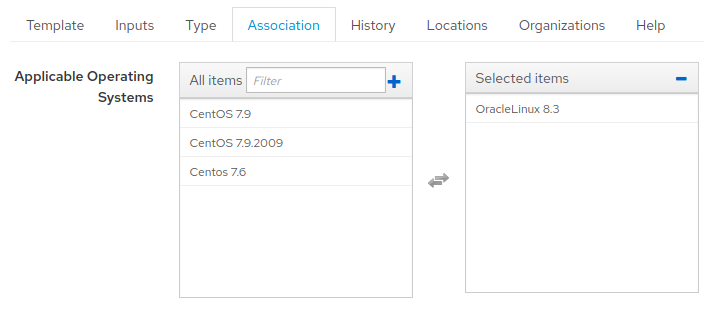
Before creating your host, you will need to have the following template types associated with your host’s operating system version: Provisioning (your Kickstart file), PXELinux, iPXE, and PXEGrub2. This has always been annoying to do in Foreman, because you have to first make the template available to the OS under Provisioning Templates > template > Associate, then enable it at Operating Systems > OS > Templates.

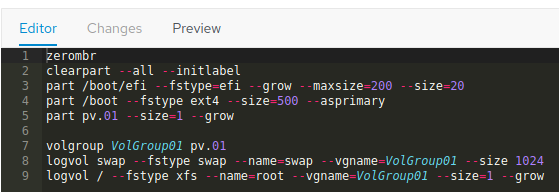
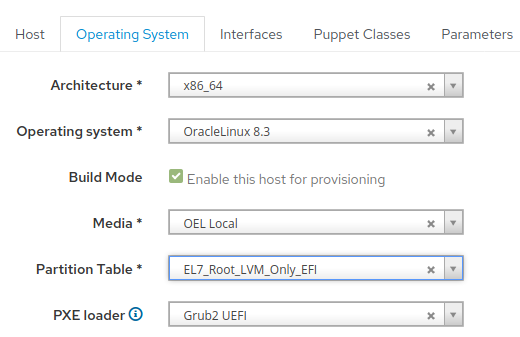
In addition, if you are going to build a Generate 2 VM, you will need to include an EFI partition in your partition table.
Once these prerequisites have been met, you should be ready to create your VM. When creating a Generation 2 VM in Hyper-V, make sure to disable Secure Boot. Otherwise, the default settings should be sufficient.
Over in Foreman, the steps for creating a host are mostly the same as with other virtualization types. Under the Operating System tab: for your PXE loader, choose PXELinux BIOS for a Generation 1 VM or Grub2 UEFI for a Generation 2 VM.
Fill out all the remaining required fields and click Submit at the bottom of the page. If the host saves correctly, you should then be able to download the full ISO, mount it to your Hyper-V virtual machine, and Kickstart a VM from it.
I hope you’ve found these tips to be useful, if you’ve encountered a need to build Hyper-V VMs out of Foreman. I should mention also that I performed all my testing on a Windows 10 system and not with the server implementations of Hyper-V.